How has DriveX product developed over time
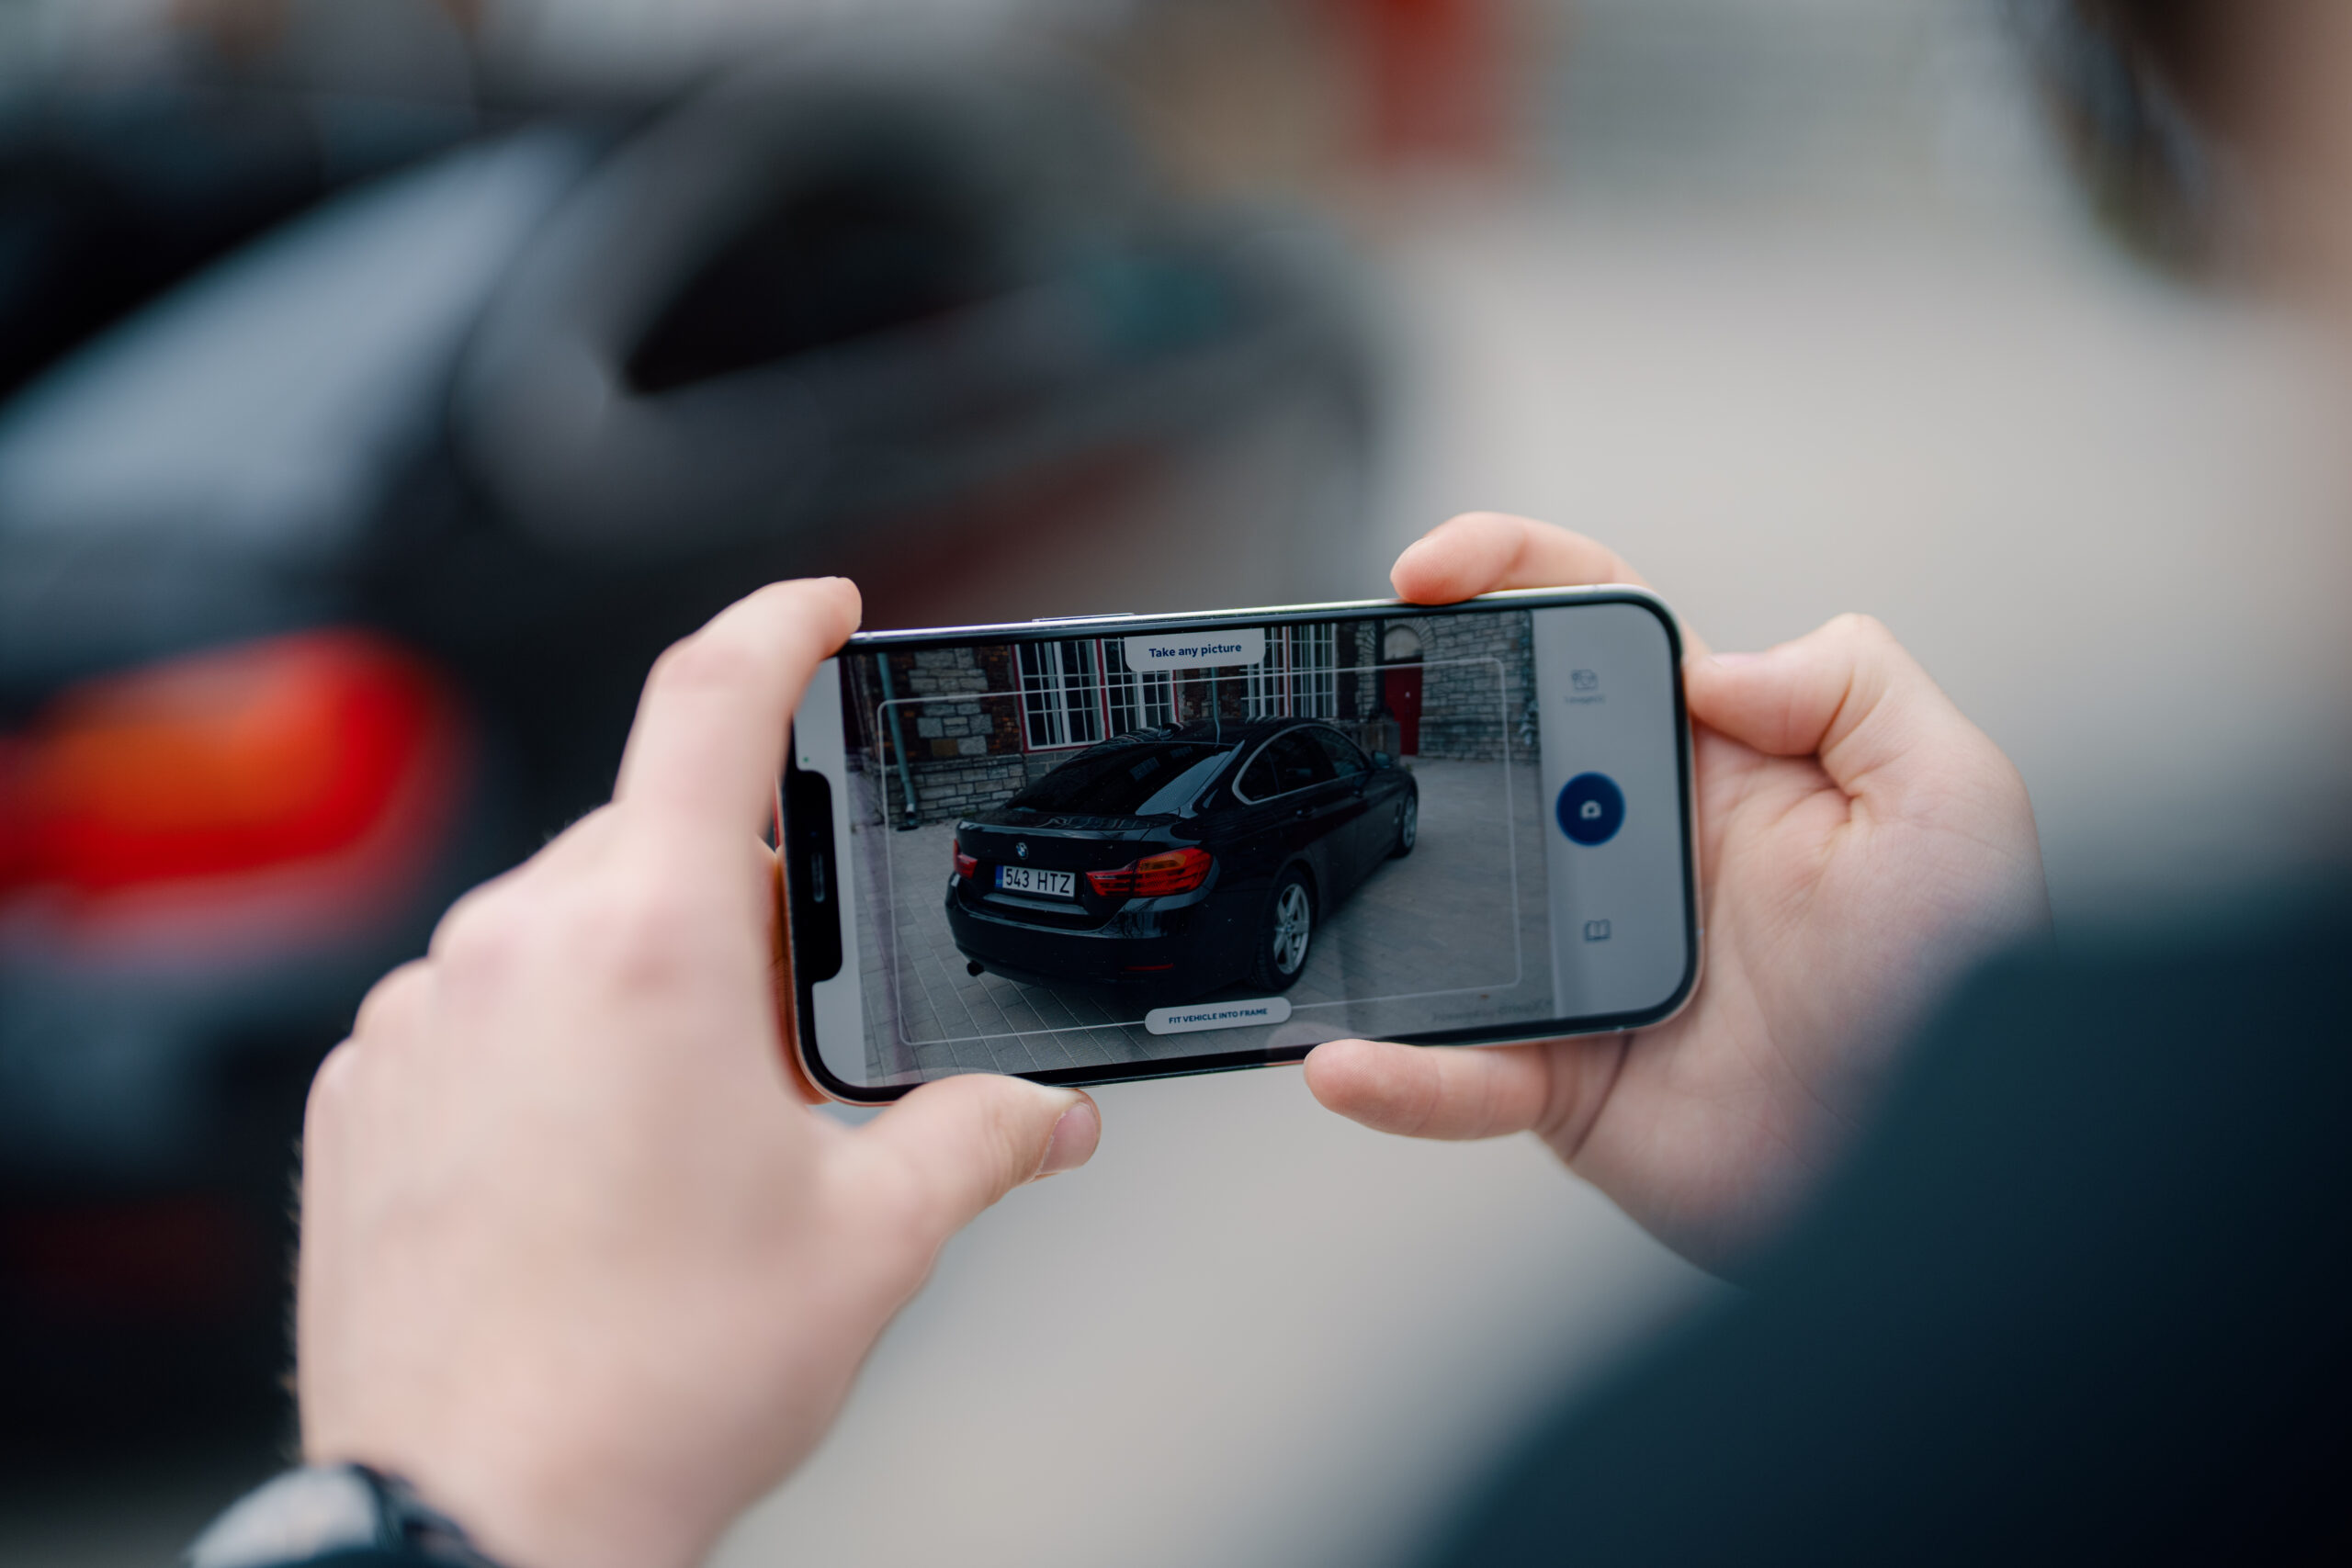
DriveX product has come a long way since we first started developing it in 2020. We have built it alongside our clients to offer the best possible value. Here is a rough description of how our product has developed.

Step 1: photo capturing application
First step of the evolution of DriveX product was creating the actual photo capturing application. Some of the first features were selecting between multiple workflows, custom branding for the application, changing the language of the application and adding instructions to improve the customer experience.
Step 2: vehicle verification
Second step in the evolution was adding VIN code detection and licence plate reading. This was a very important development to give clients information about the scanned vehicle.
Step 3: image quality validations
Third step was adding validations for better image quality. Blurriness and visibility validations give our clients the guarantee of getting high quality images to better detect fraud.
Step 4: image content validations
Next up was developing Image content validations to give even more information about the quality of the photo series. Added checks were detecting if the vehicle is on the image, on the right distance and correctly in frame. This further increased the quality of our safety reports.
Step 5: fraud validations
Fifth step was adding even more safety validations to avoid fraud. Developments like licence plate mismatch validation, VIN mismatch validation and time limit between images made our safety reports even more reliable by detecting suspicious user activity.
Step 6: vehicle condition checks
Our most recent addition! Detecting damages on vehicles to give our clients an overview of existing problems by providing a comprehensive damage report.
How we develop our AI
When developing AI, we need a goal first. What problem are we solving? After that we need to choose the correct model architecture. Then we’re going to need a lot of input data, which in our case are pictures of cars. Simply put, we need to label the pictures to show the AI how the job should be done. All this data is divided into two categories: training data and testing data. Training data is fed into the machine learning model for it to discover and learn patterns. On the other hand, testing data, as the name suggests, is used for testing the model and evaluating its performance. After all of that, we perform error analysis — find out where and why the model is weak, fix it and then iterate. In the meantime, we can improve the model architecture and collect more data.
Example: how we developed our damage detection
First, we had to figure out what kind of damages we wanted to detect. For training data, we needed a lot of images of cars—both damaged and not damaged. Then, we had to manually go through all of these images and look for patterns that could hint at the model architecture most suitable for this problem. Next, we planned the model architecture and labeled all the images. In addition to real-life images, we also used simulated data.
It wasn’t all fun and games, though. We ran into some problems—for example:
- How to differentiate between naturally occurring damages and damages caused by a user?
- Pictures tend to have a lot of noise, and damages tend to get lost in that noise. How to differentiate between noise and actual damages?
These and a lot of other questions are being solved every day by our amazing product and development team. Kudos to you guys!